Add with Google Tag Manager
tip
Not using Google Tag Manager? Learn how to add directly to your pages instead.
Make sure you now have a tag configured and ready to deploy.
You now need to add it to every page on your website where visitors may land or browse to. This normally means all the marketing or front-end pages of your site, or all store pages for ecommerce sites.
Follow these steps to do this through Google Tag Manager:
- Sign in to Google Tag Manager.
- Open the container for the site you need to add the tag to.
- Click Tags on the left.
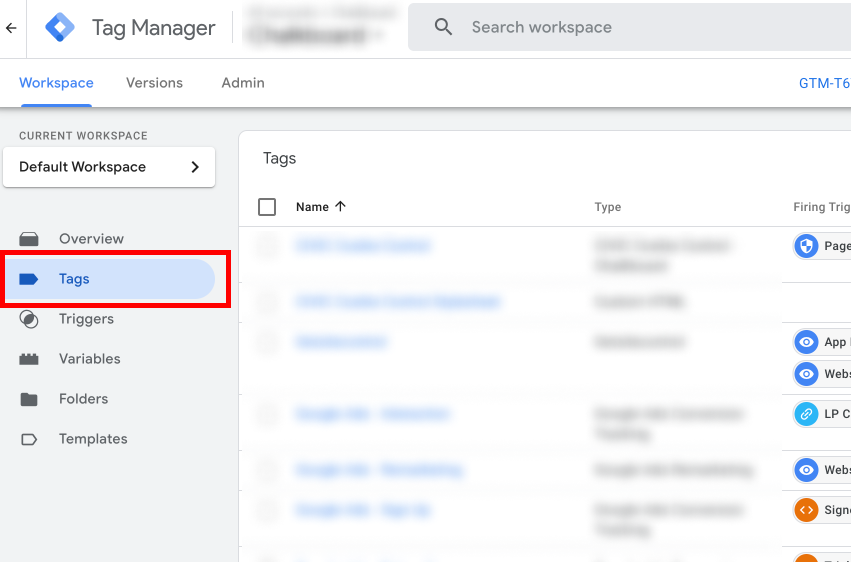
- Select New (on the right hand side of the page).
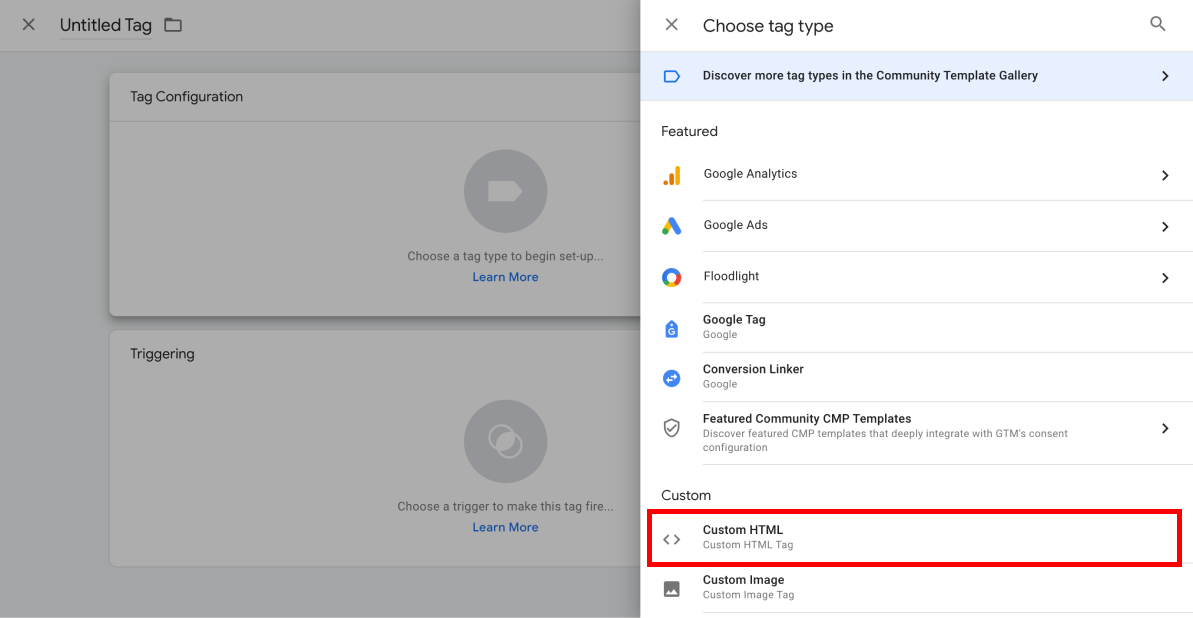
- Click into Tag Configuration. The Choose tag type drawer should open from the right.
- Scroll down to select Custom > Custom HTML.
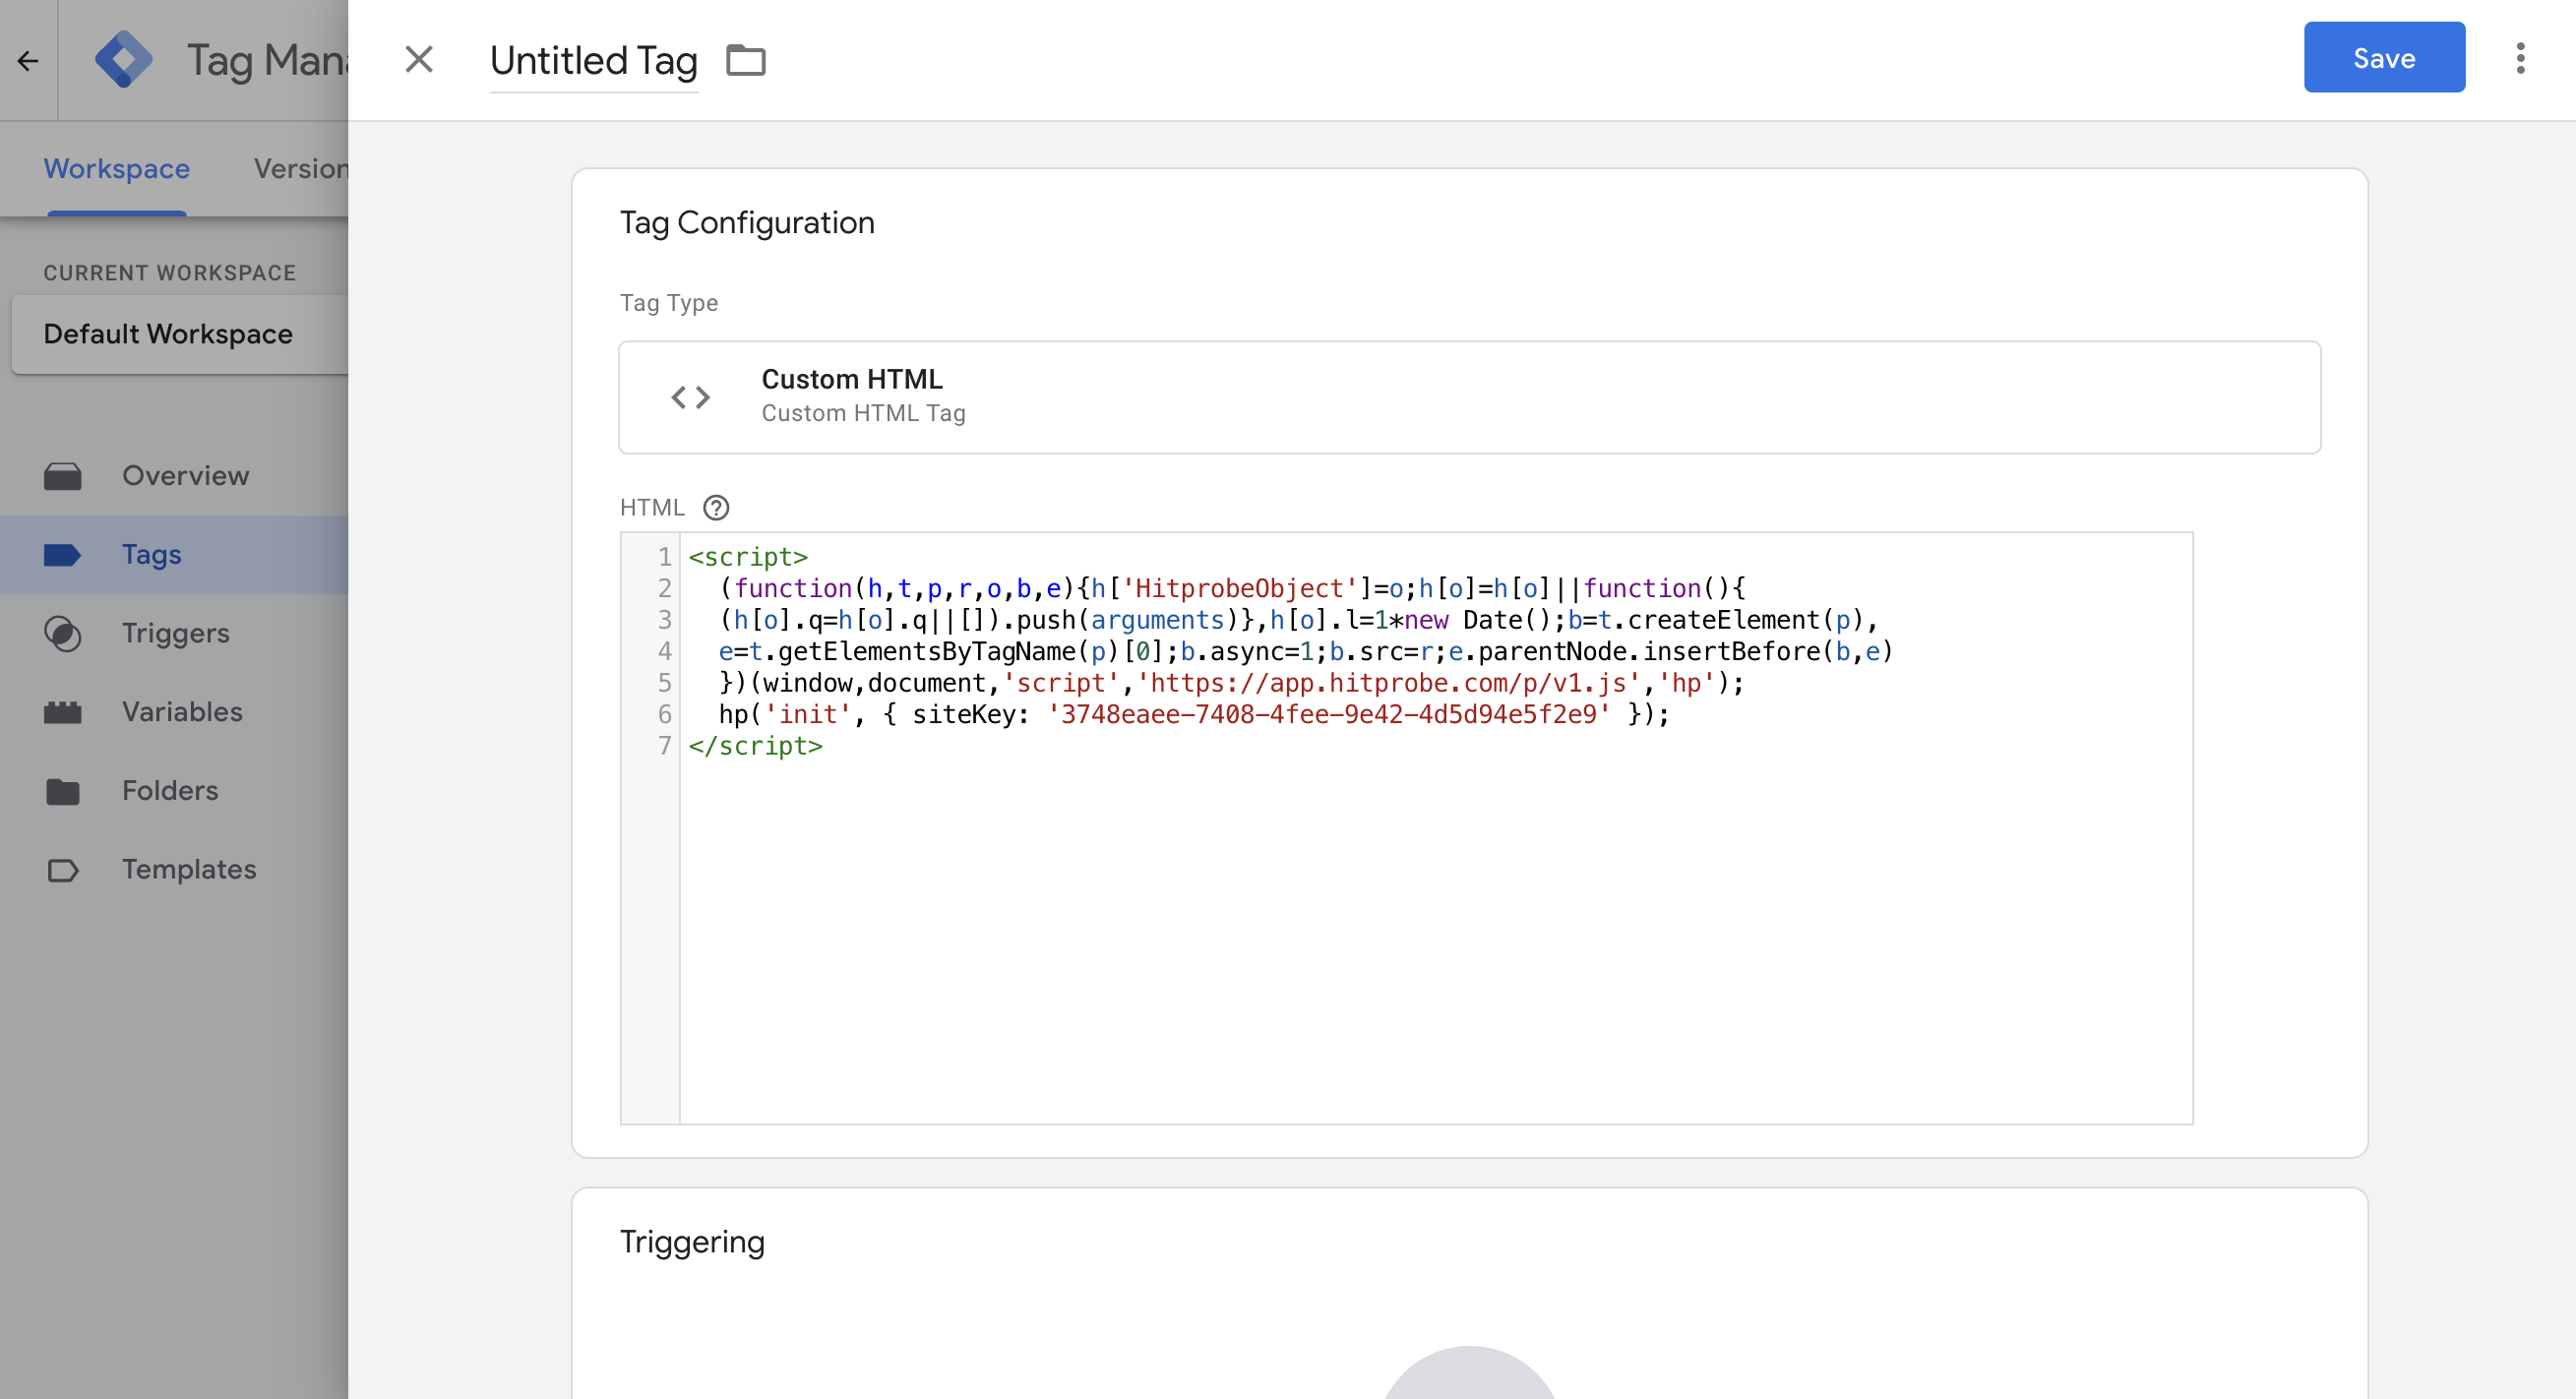
- In the HTML box, paste the tag code you configured in the previous step.
- Next, click into the Triggering section. The Choose a trigger drawer should appear.
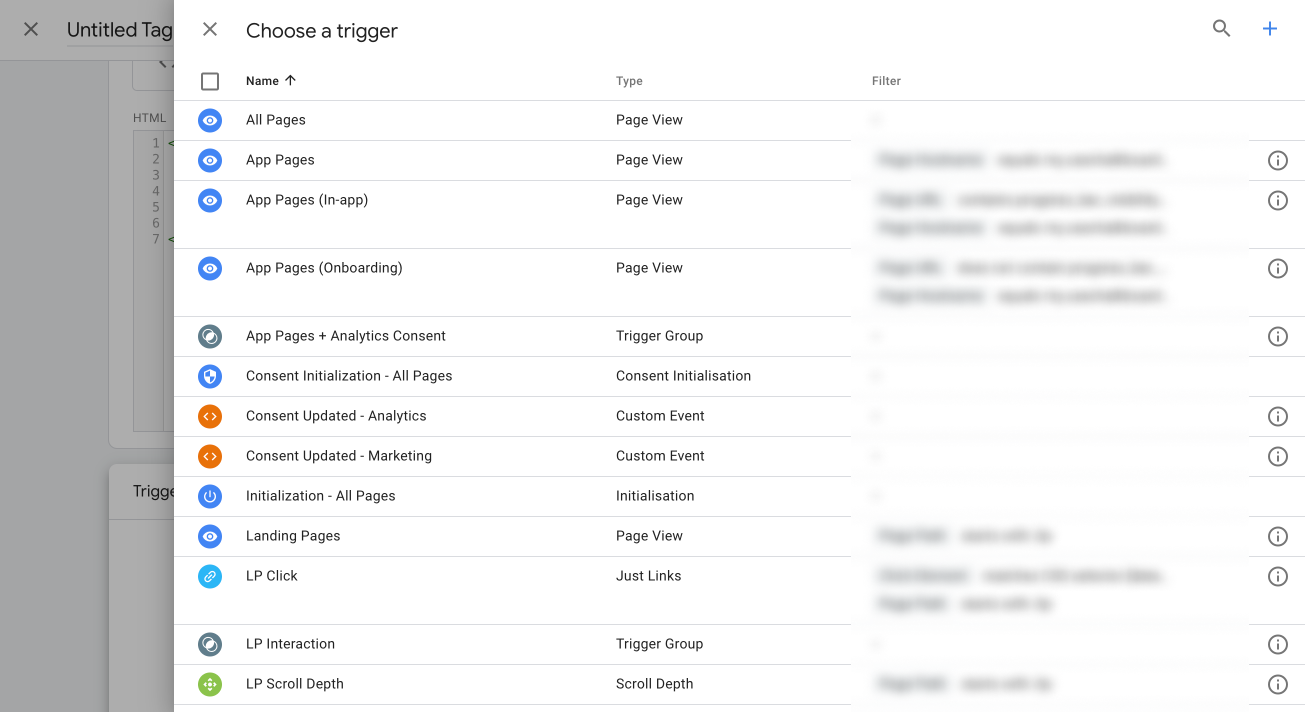
- Choose the event you want to trigger on. Most of the time this will be 'All Pages'.
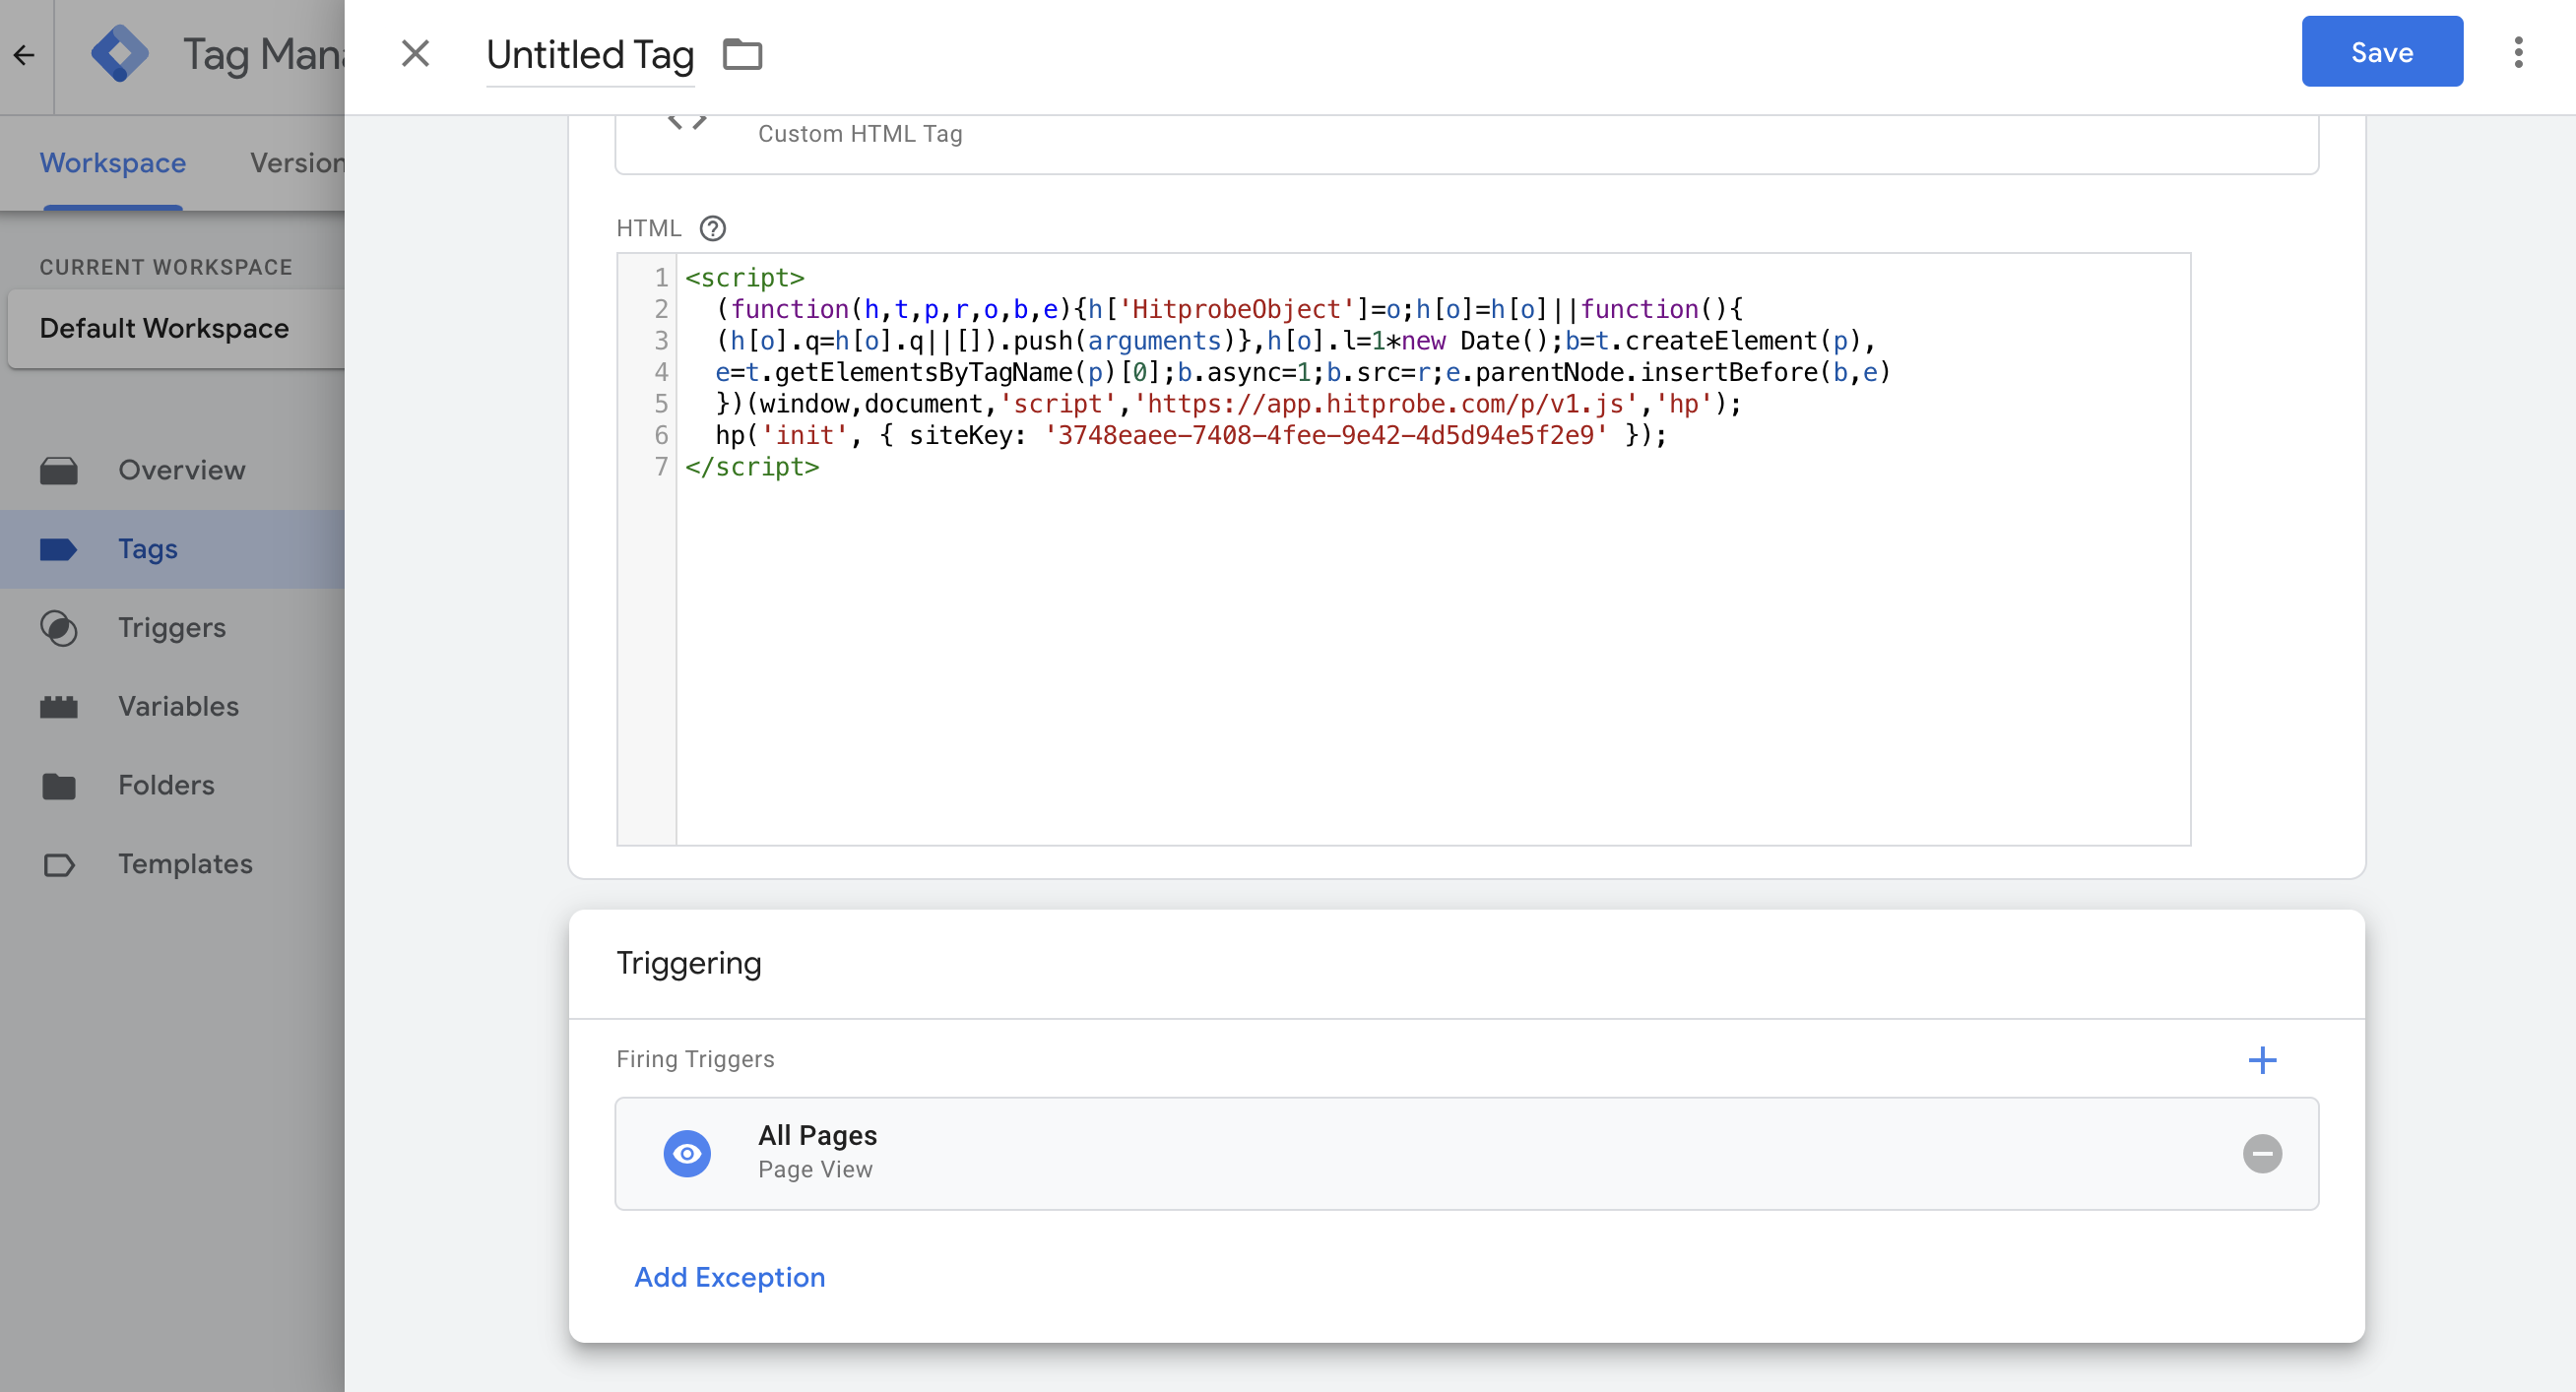
- Click Save. You'll be asked to name the tag at this point too.
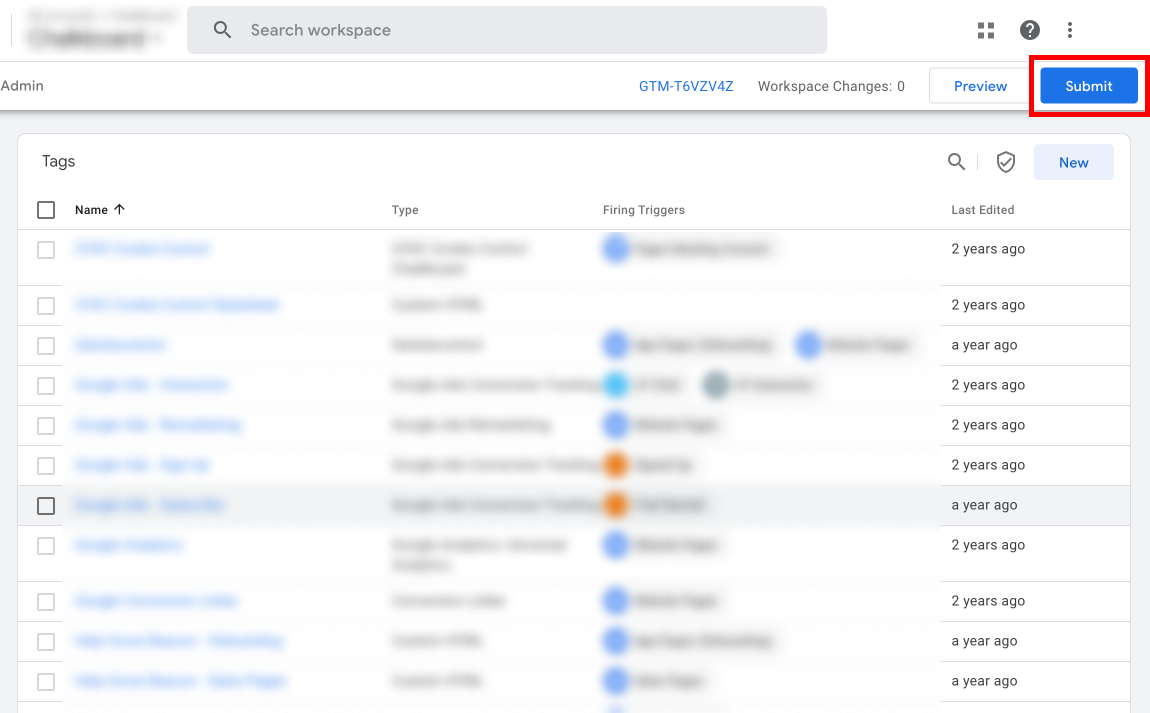
- Finally, click Submit to publish your changes.
When the tag is live on your site, you should start to see new sessions appear in the console.
Tag not working?
- Are you sure the changes you made in Google Tag Manager are published and live?
- Check the developer console in the browser, you may see error messages that you can act on.
- Double check the site key is correct.
- Have you added the tag to the same domain as that of the site?
- If you have a CSP (Content Security Policy), did you add Hitprobe's domains to it in the previous step?
Also refer to our full troubleshooting guide.
tip
Once the tag is added to your site, make sure you also connect your ad channels such as Google Ads to make the most of Hitprobe.